

Six feature walls where the surface stays centre stage
Build a botanical wall around one sculptural branch
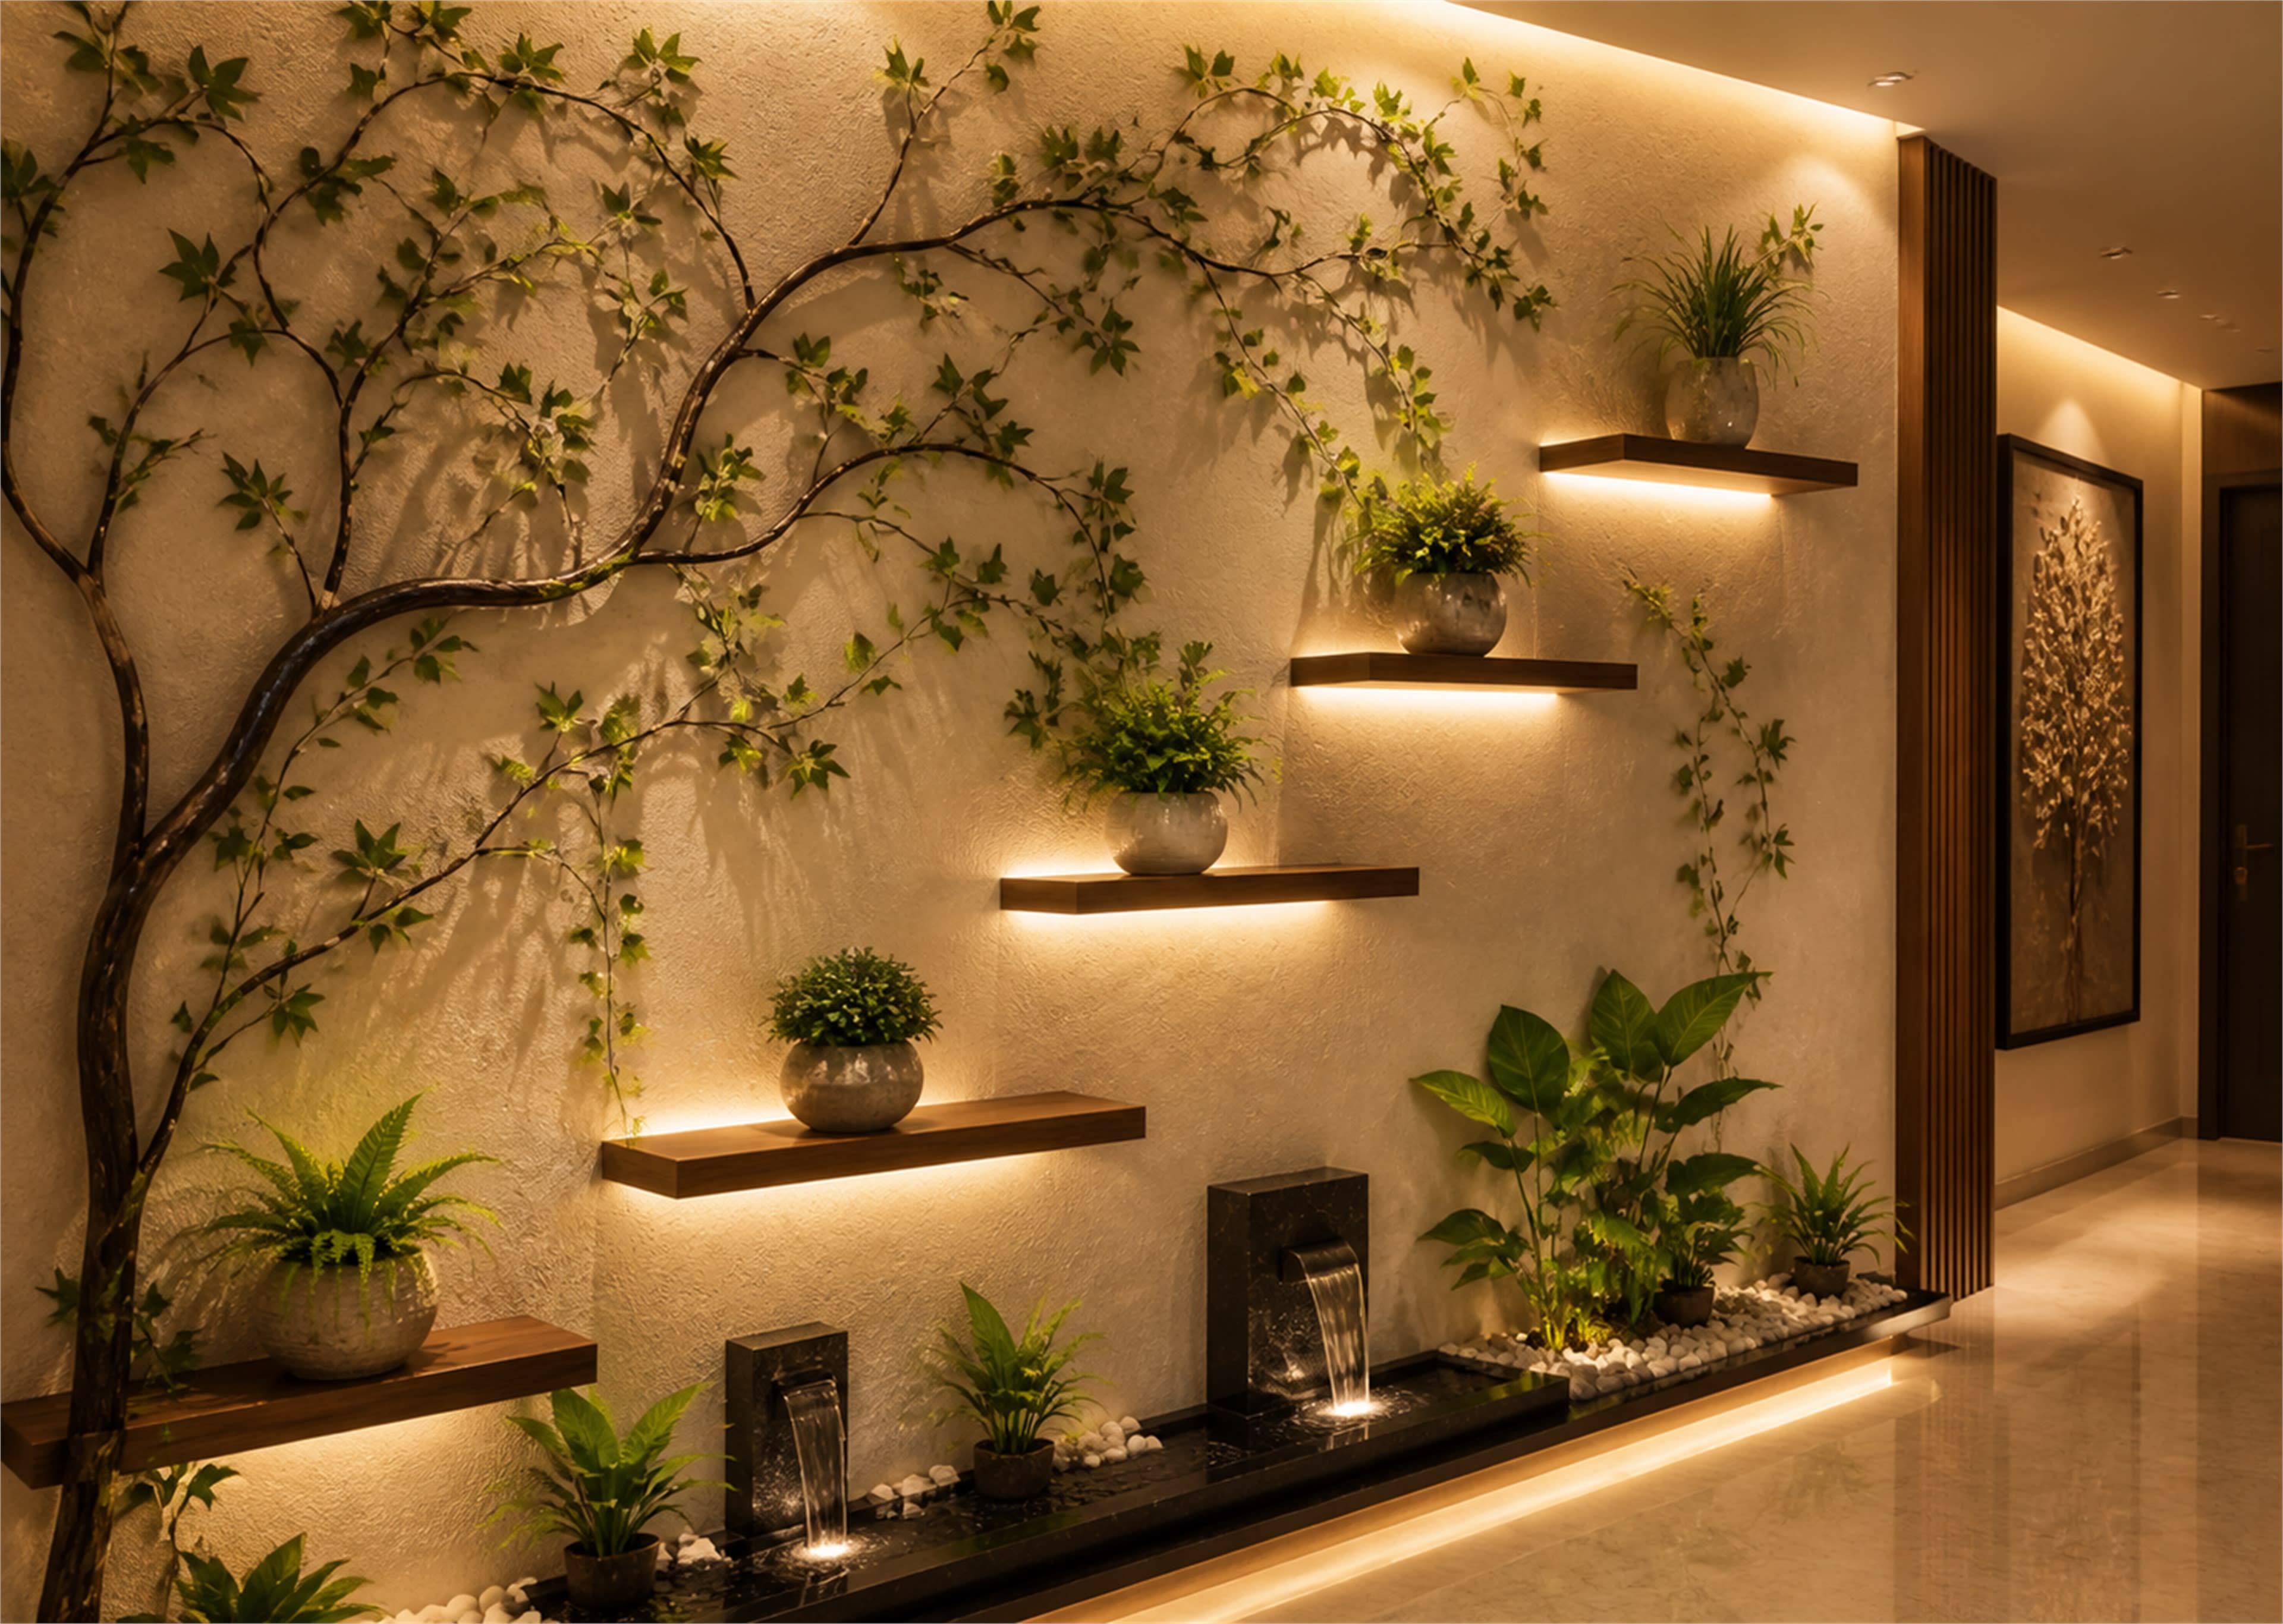
The branch provides the main line, moving from the lower corner across the lime plaster instead of treating every shelf as a separate decoration. Five walnut ledges follow that movement at uneven heights, while their hidden lights cast leaf shadows back onto the textured surface. The planting is concentrated at the base and along the branch, leaving enough plain plaster for the composition to breathe. A water rill makes the lowest edge feel finished, but it is also the part that needs the most planning. Provide access to the pump, protect nearby finishes from splashes and use moisture appropriate lighting. For a lower maintenance version, replace the water with a bed of dark stone and white pebbles. The strong branch silhouette and staggered shelves will still carry the design.
Carve one illuminated arch into a quiet plaster wall
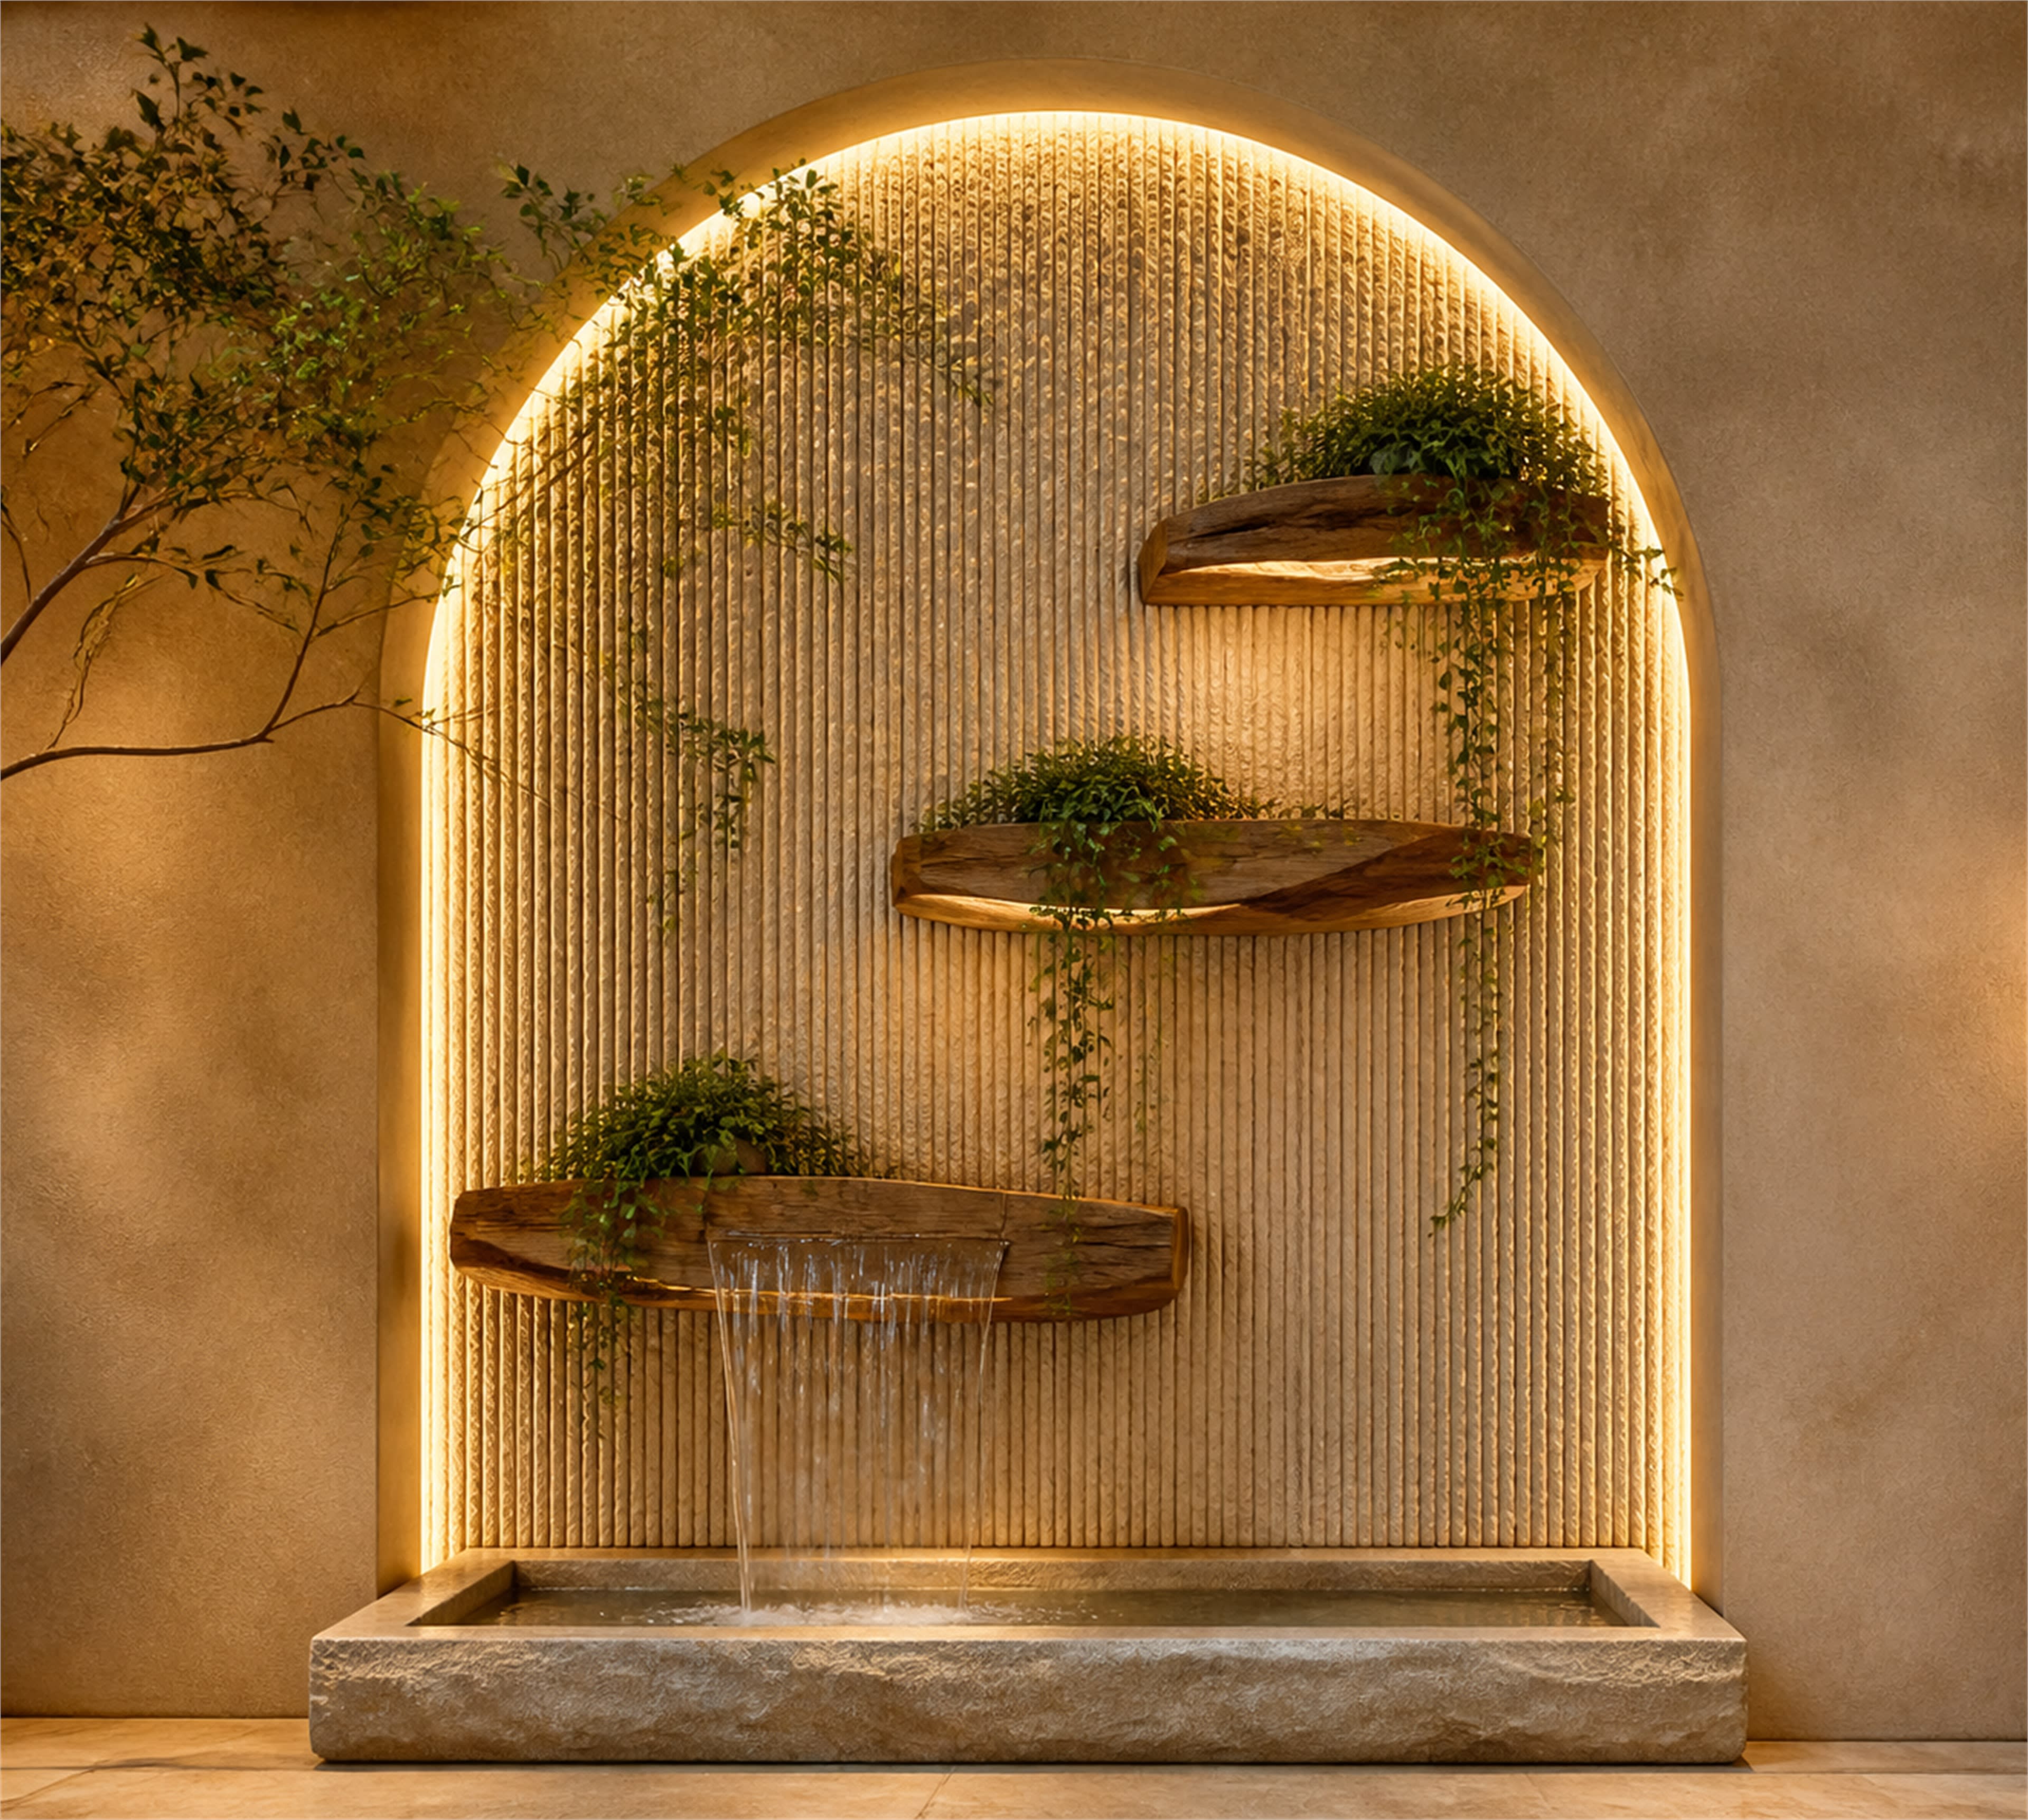
One oversized arch is calmer than a collection of small niches because the eye reads it as a single architectural gesture. The vertically ribbed stone gives the water a clear background and exaggerates the height, while rough oak shelves stop the symmetry from becoming formal or rigid. Notice that the plants soften the upper half without hiding the outline of the arch. The LED sits behind the curved reveal, so the source disappears and only the warm halo remains. If an actual recessed arch is not possible, a shallow framed panel can create the same shadow line on top of an existing wall. Keep the basin wider than the falling water, specify a non slip floor nearby and arrange electrical access before the decorative finish is applied.
Let bookmatched travertine and fine brass lines do the work
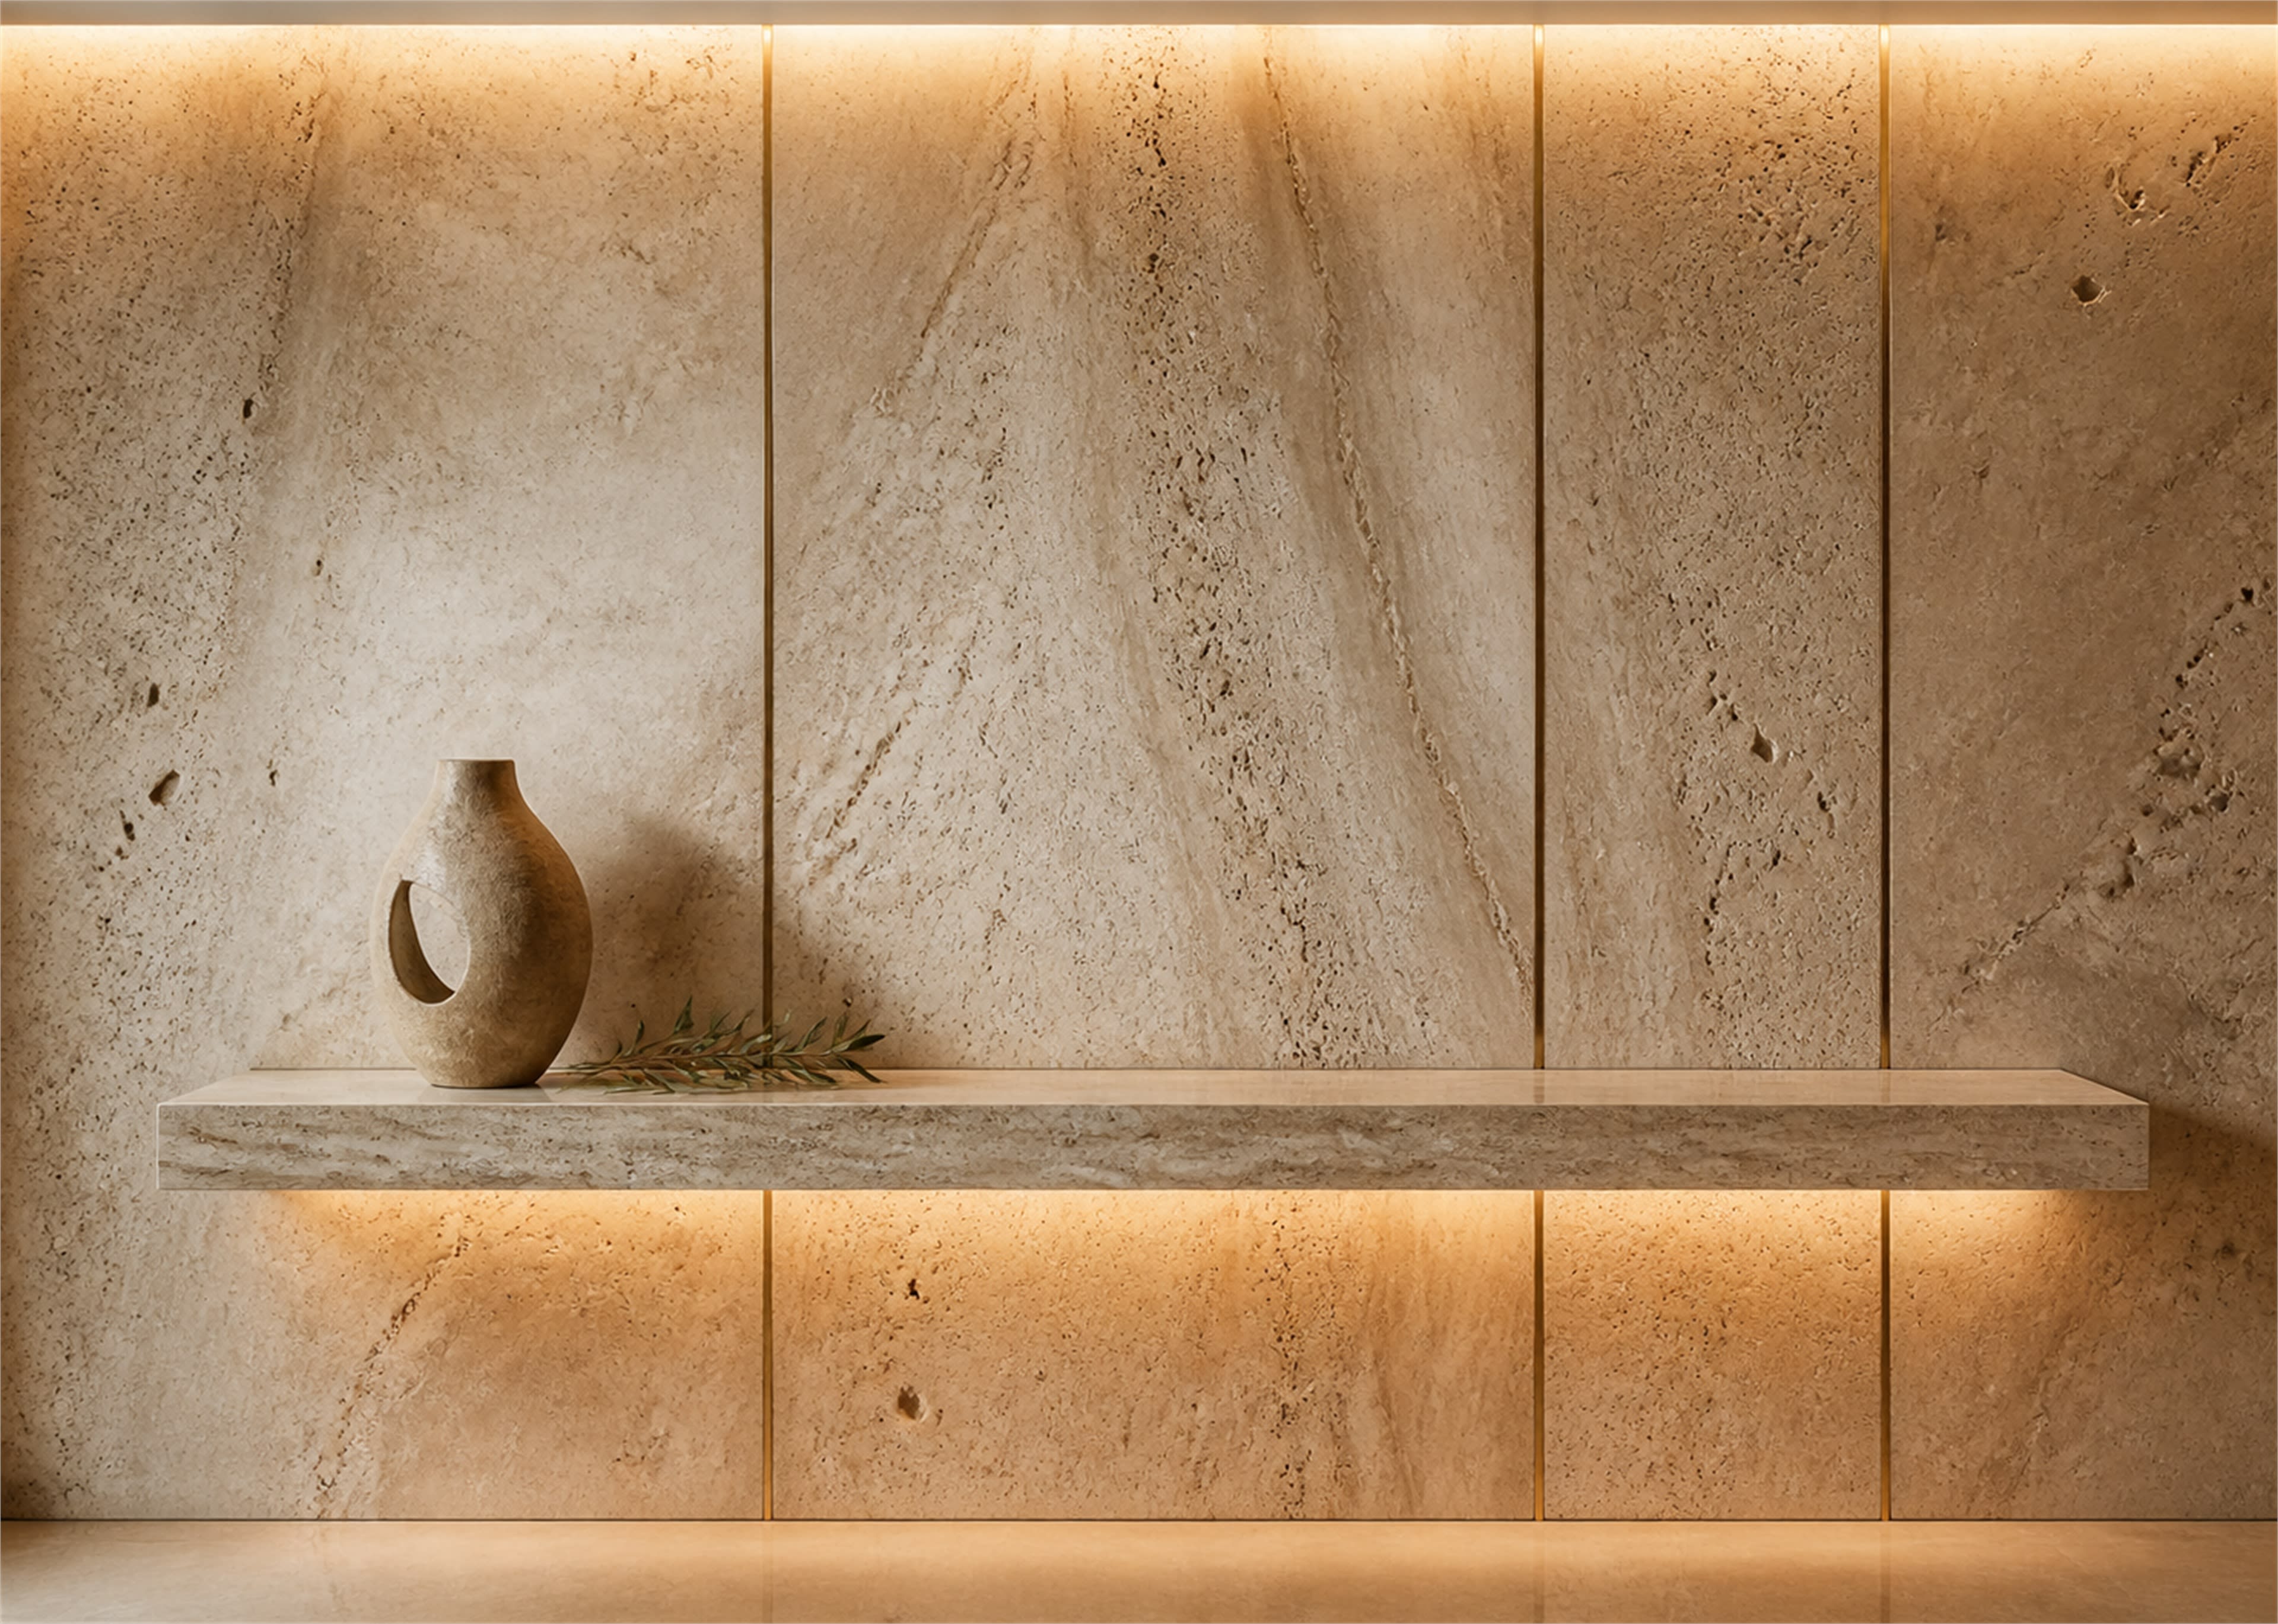
This is the most restrained wall in the collection, yet it rewards a closer look. Large travertine panels are arranged so their movement continues across the surface; fine brass strips mark the joints instead of trying to conceal them. One long shelf repeats the stone horizontally and gives a single vessel enough presence. Light grazes down from above and returns beneath the shelf, making the pores visible without turning every brass line into glare. Before ordering stone, map every joint on an elevation and decide where sockets, switches and shelf fixings will land. For a lighter and less expensive build, use large format travertine look porcelain or a high quality stone veneer. Precise panel alignment matters more here than thickness.
Break a fluted walnut wall with one softly plastered oval
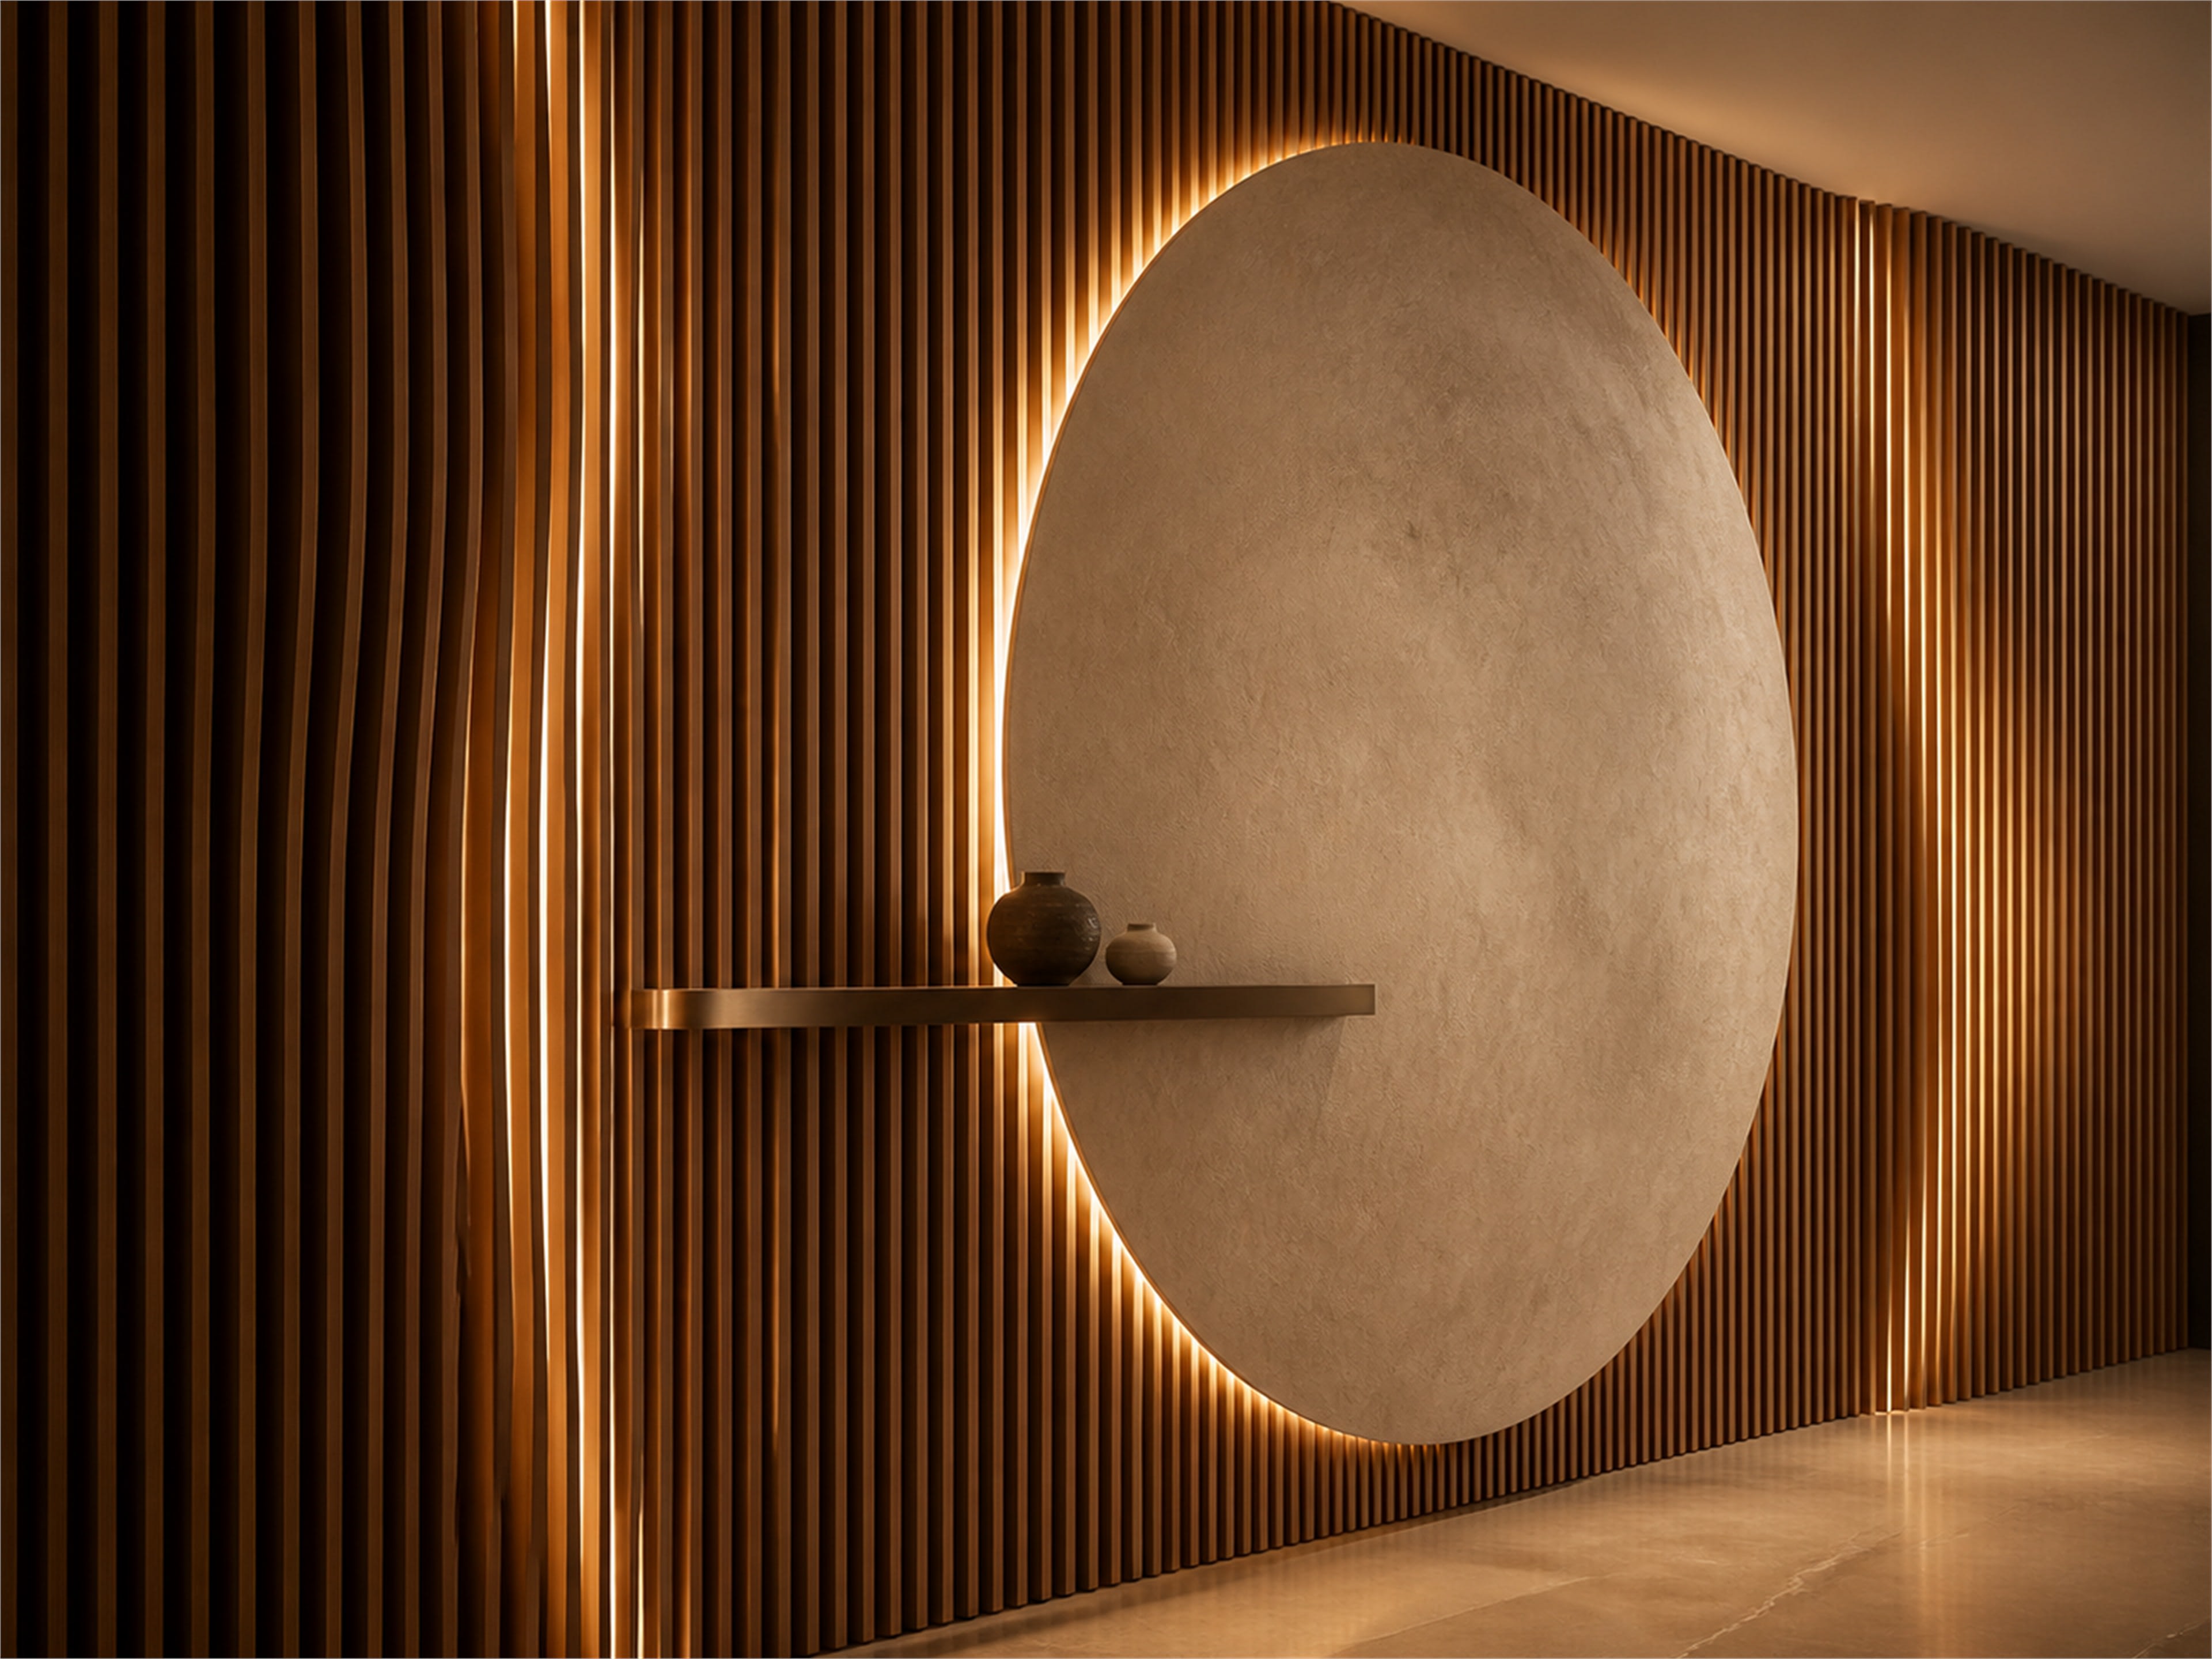
Vertical timber battens create a steady rhythm, then the oversized oval interrupts it with a quiet area of hand finished plaster. That contrast is what makes the wall feel designed: dark against light, repeated lines against one broad curve, timber grain against soft trowel marks. The concealed halo separates the oval from the battens after dark, while a narrow bronze shelf crosses the edge rather than sitting perfectly in the centre. Use real timber veneer or consistently finished battens so adjacent pieces do not vary wildly in colour. Leave an intentional shadow gap at the floor and ceiling, and make the removable access for the LED driver part of the joinery plan. A half height version can achieve the same effect in a smaller hall.
Filter warm light through a handmade terracotta screen
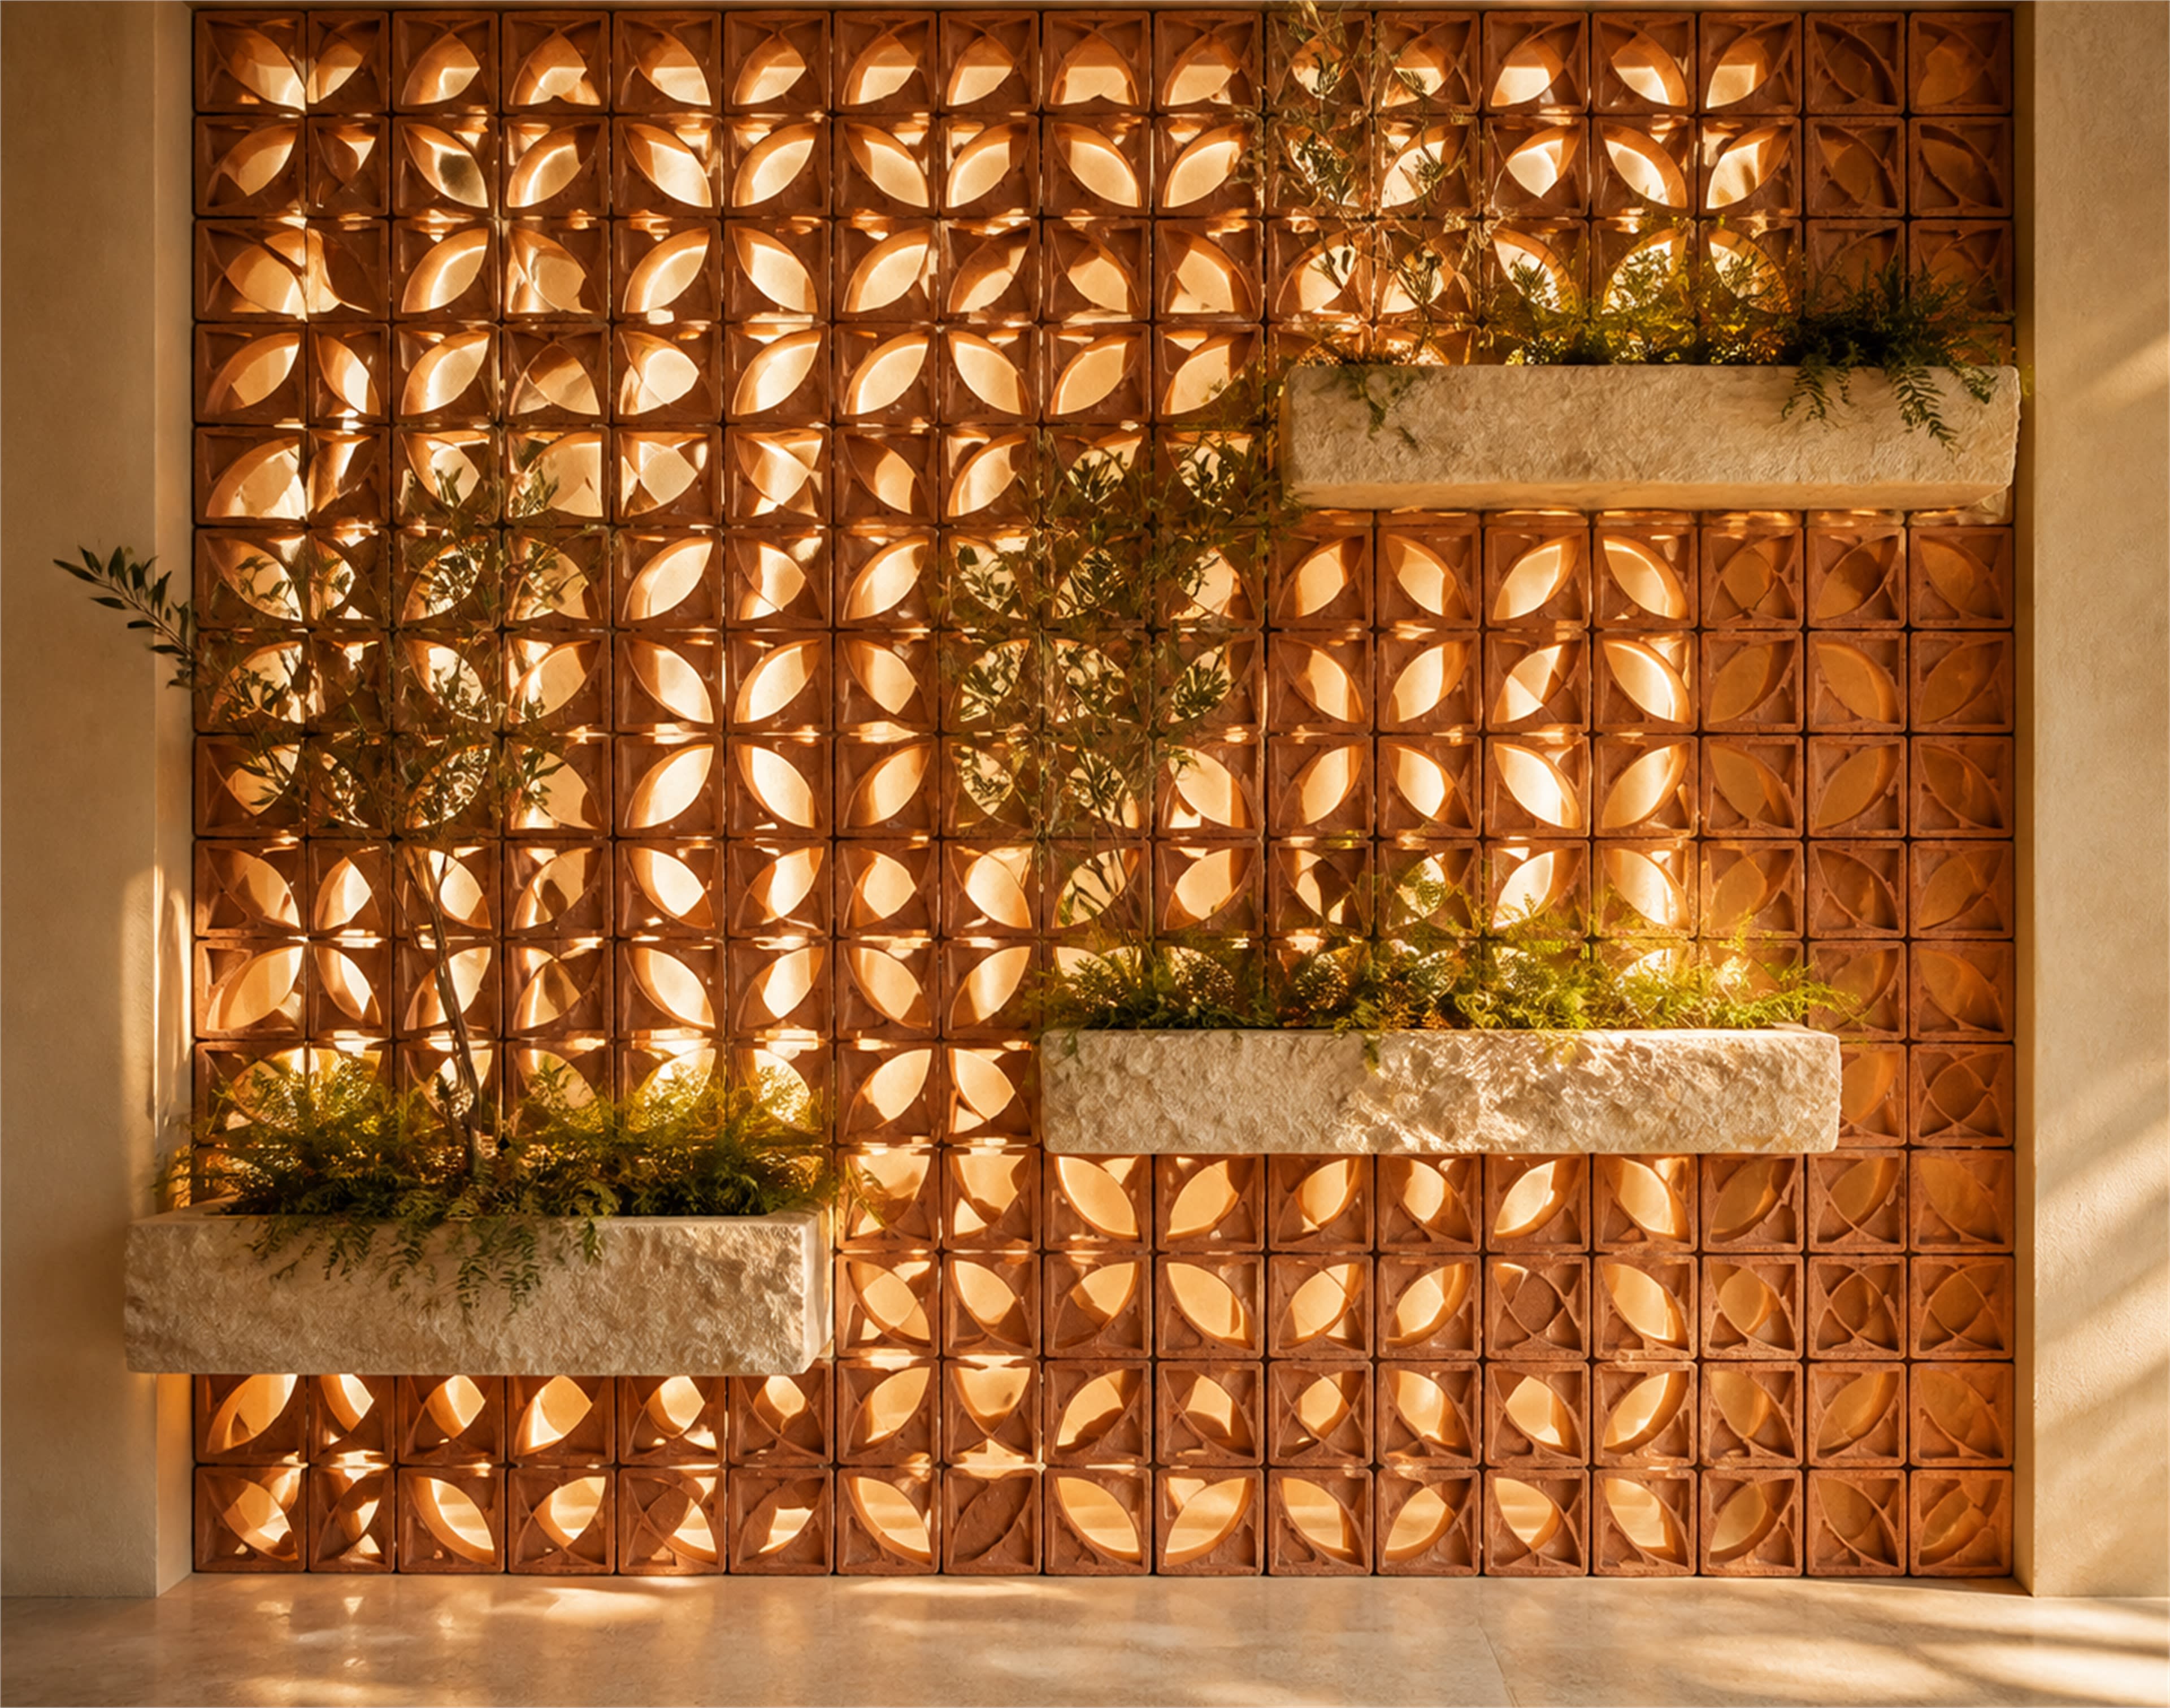
The repeated clay blocks turn light into pattern. Because each opening has depth, the wall changes throughout the day instead of behaving like printed wallpaper. Three rough limestone planters cross the grid at different heights and provide broad, quiet shapes against the smaller terracotta modules. The planting is loose rather than dense, allowing the pattern to remain visible. Confirm whether the blocks are decorative or structural before construction; most interior screens need a properly supported frame and careful fixing at the top and sides. If the back of the wall cannot receive daylight, a dimmable warm LED layer can produce a similar glow. Include removable trays or liners inside the planters so watering never stains the clay or mortar.
Sculpt shallow niches into a continuous curved plaster surface
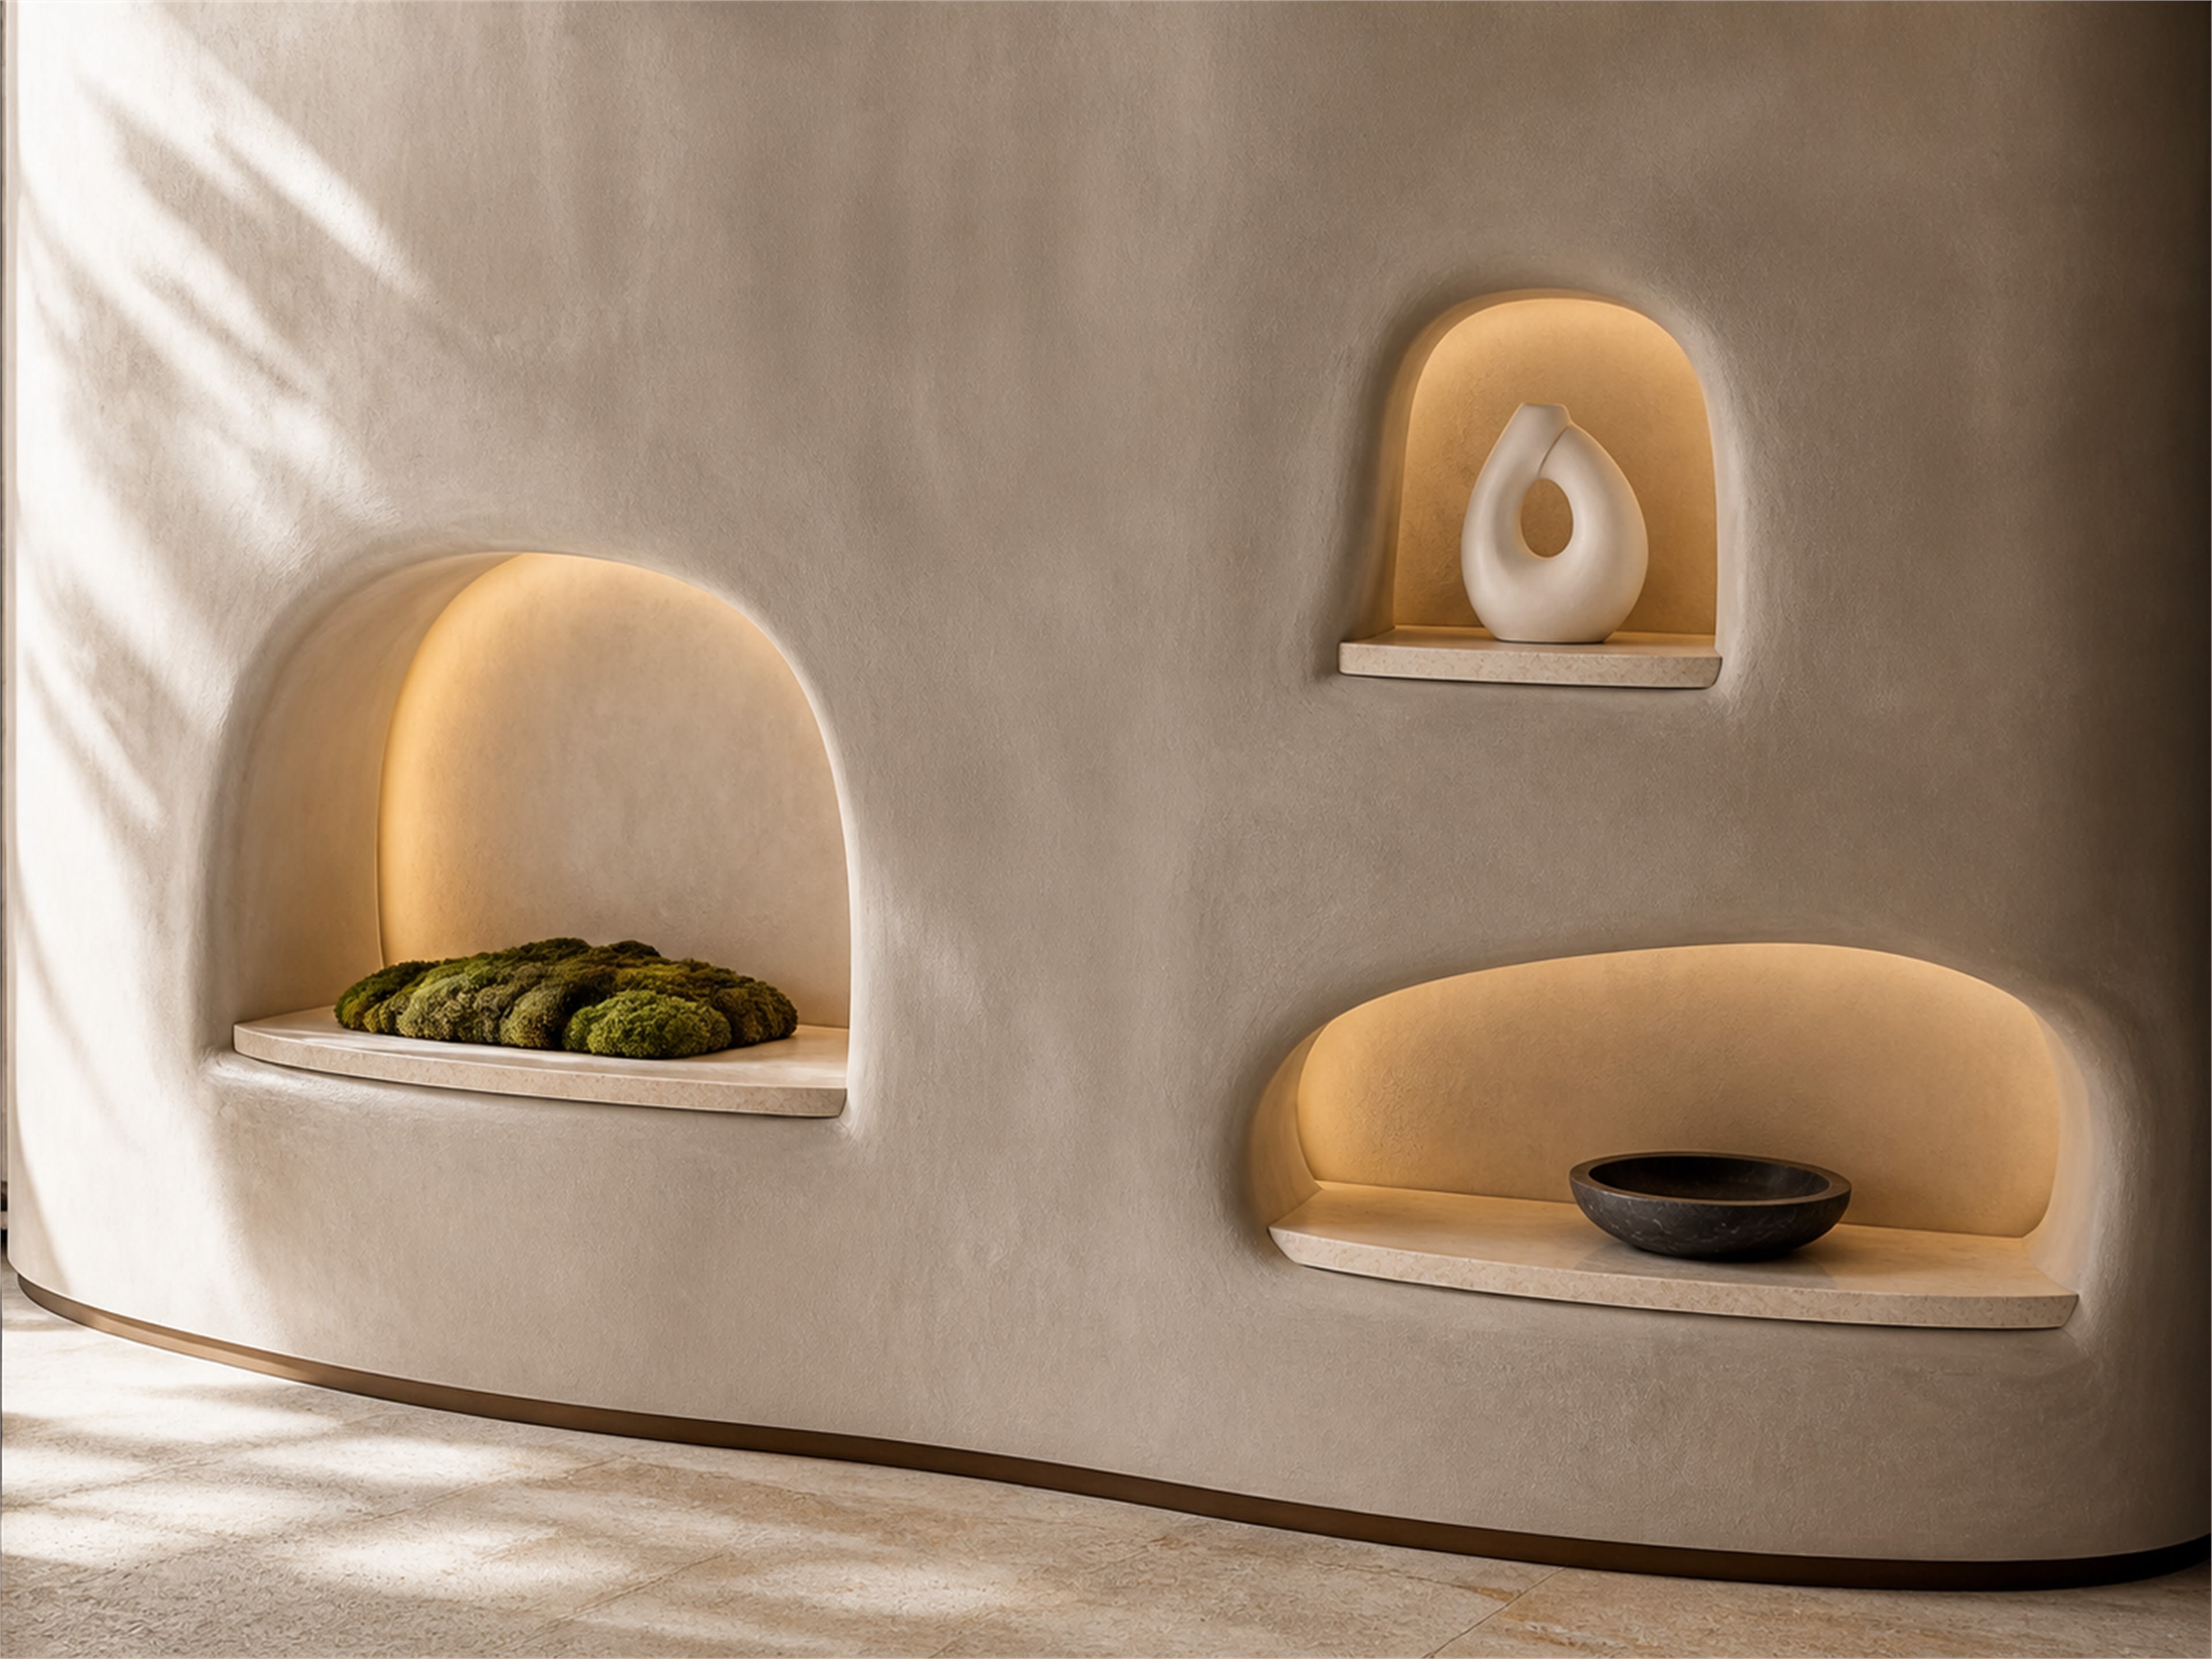
This wall creates depth without adding colour or a busy pattern. Three niches vary in size and proportion, but their rounded corners and pale stone bases make them feel related. Each holds only one material story: moss, a ceramic form or a dark bowl. The empty plaster between them is essential because it lets the wall's shallow curve remain visible. Build full size cardboard templates before framing the niches; a shape that looks elegant on a small drawing can feel awkward at wall scale. Use low output hidden LEDs and accessible drivers, and avoid placing heat sensitive preserved greenery against the light source. A bronze shadow gap along the floor protects the plaster edge and gives the curve a crisp ending.
Choose the idea according to maintenance, not appearance alone
The most photogenic option is not automatically the right one for a busy household. Water needs cleaning and pump access. Live planting needs suitable light, watering and room to grow. Open textured stone catches dust differently from a sealed porcelain slab, while deep timber battens take longer to clean than flat panelling. Write down what must be watered, wiped, resealed or repaired before choosing the finish. If the answer feels unrealistic, keep the composition and swap the demanding material: preserved foliage for live planting, a dry pebble channel for water or a washable mineral effect coating for porous plaster.
A practical sequence for planning a custom accent wall
- Photograph the empty wall from the doorway and mark the viewable area that is not blocked by open doors or furniture.
- Choose one dominant gesture, such as an arch, a branch, a curve or a repeated grid, instead of combining several unrelated shapes.
- Draw the real positions of sockets, switches, vents, skirting and access panels before deciding where shelves or niches will sit.
- Tape the main outline onto the wall at full scale and check it in daylight and after dark.
- Select no more than three visible materials and decide which one should carry the strongest texture.
- Plan cable routes, LED drivers, waterproofing and future maintenance access before the finished surfaces are installed.
- Test one material sample under the exact light you intend to use; warm light can change stone, timber and plaster colour dramatically.
How to borrow the look without copying the whole wall
Start with the relationship that attracted you. If it was the botanical wall, copy the diagonal branch and staggered ledges, not necessarily the fountain. If it was the travertine wall, repeat the broad vertical panels and one long shelf using porcelain. If the walnut design appealed to you, a smaller fluted panel with a circular plaster insert can carry the same contrast. This approach keeps the idea recognisable while allowing the dimensions, budget and maintenance to belong to your home. Save the wall that best matches your space, then reduce it to one shape, one principal material and one controlled layer of light before speaking to an installer.
Join the conversation
Share your thoughts on this room