

Five decorative wall projects with practical build details
Frame pressed botanicals and light one central piece
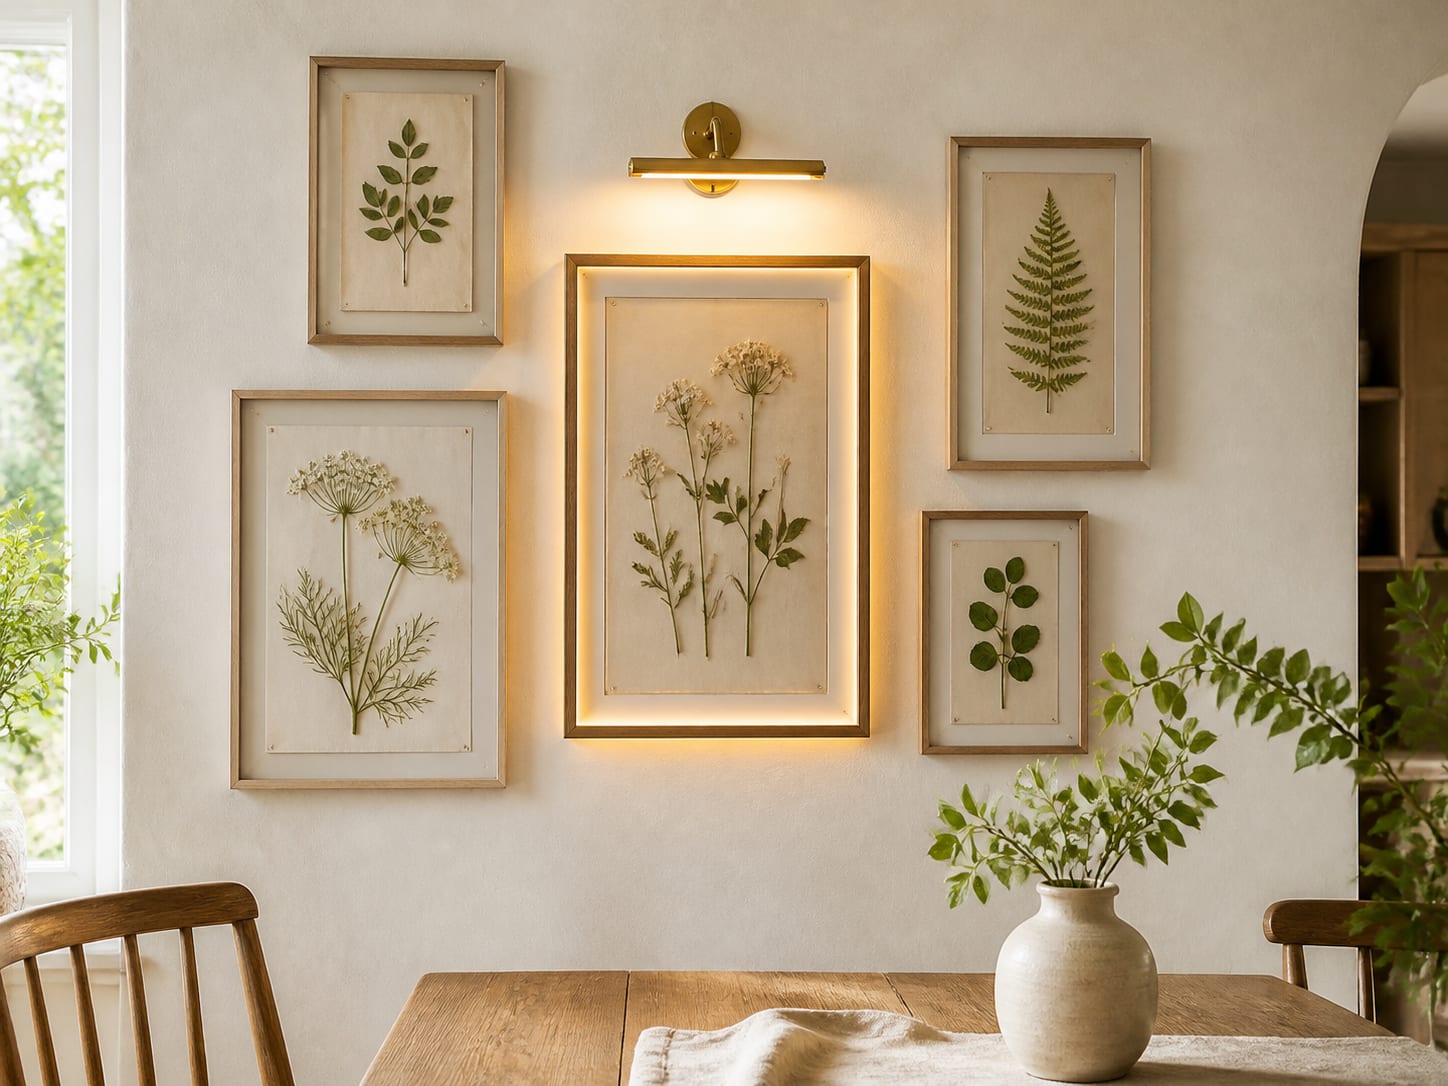
A botanical wall feels coherent when the specimens differ but the paper and frame depth remain related. Dry flat leaves or small flowers fully before mounting them; trapped moisture can stain paper and encourage mould. Use acid-free paper, small archival hinges or a tiny amount of conservation-safe adhesive, then leave breathing room around every stem. Cut paper templates matching the frames and move them on the wall until the gaps feel steady. The largest frame belongs close to the visual centre, with smaller pieces balancing its height rather than forming a rigid grid. One rechargeable picture light above the central frame is sufficient. If adding a halo, use a purpose-made low-voltage LED strip on the back edge of a deep frame and keep the battery or driver accessible. Warm 2700K light flatters dried foliage; a cool white strip can make the paper look grey.
Paint an arch and add two slim illuminated ledges
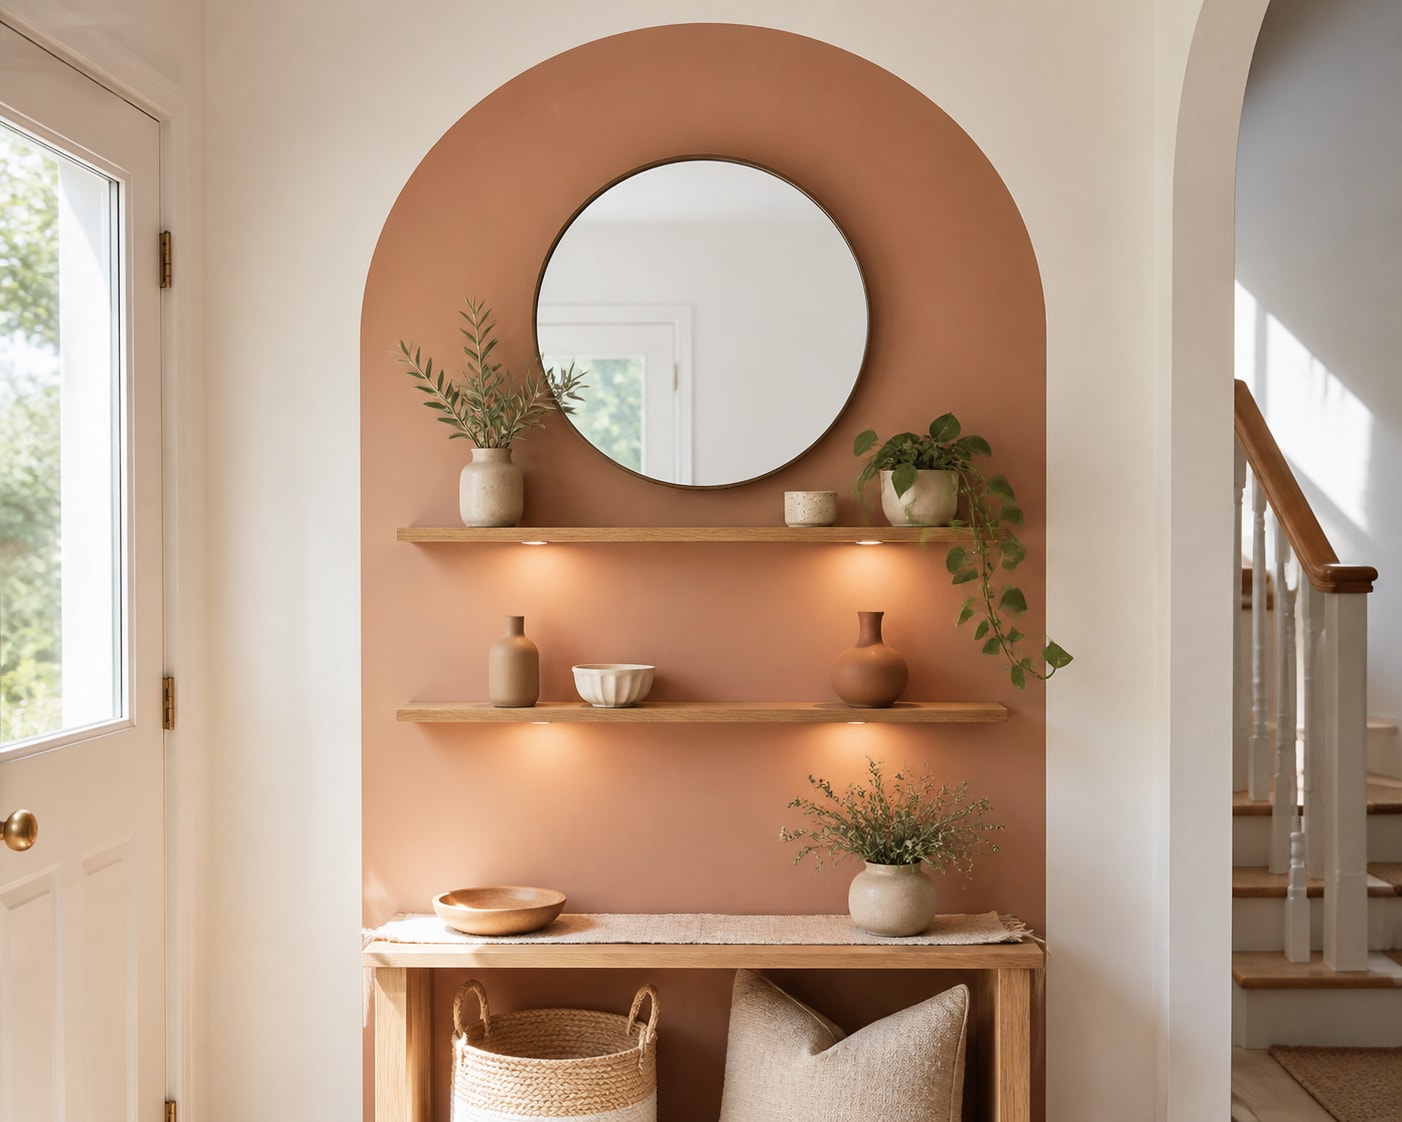
The painted arch provides architecture without building a niche. Mark the vertical sides with a level, tie a pencil to string for the curve and stand back before painting. A matte or low-sheen finish hides small wall imperfections better than gloss. The mirror should sit within the upper curve with enough painted colour visible around it to preserve the arch shape. Fix slim ledges into studs or use anchors rated for the wall type and the combined weight of shelf and objects. Two rechargeable puck lights beneath the ledges create warm pools of light without chasing a mains cable. Keep display pieces sparse and vary their heights: one plant, two ceramics and a small bowl are more convincing than a shelf filled edge to edge. In a rental, paint the arch on a lightweight primed panel and secure it using an appropriate removable system.
Shape oversized paper flowers into one flowing cluster
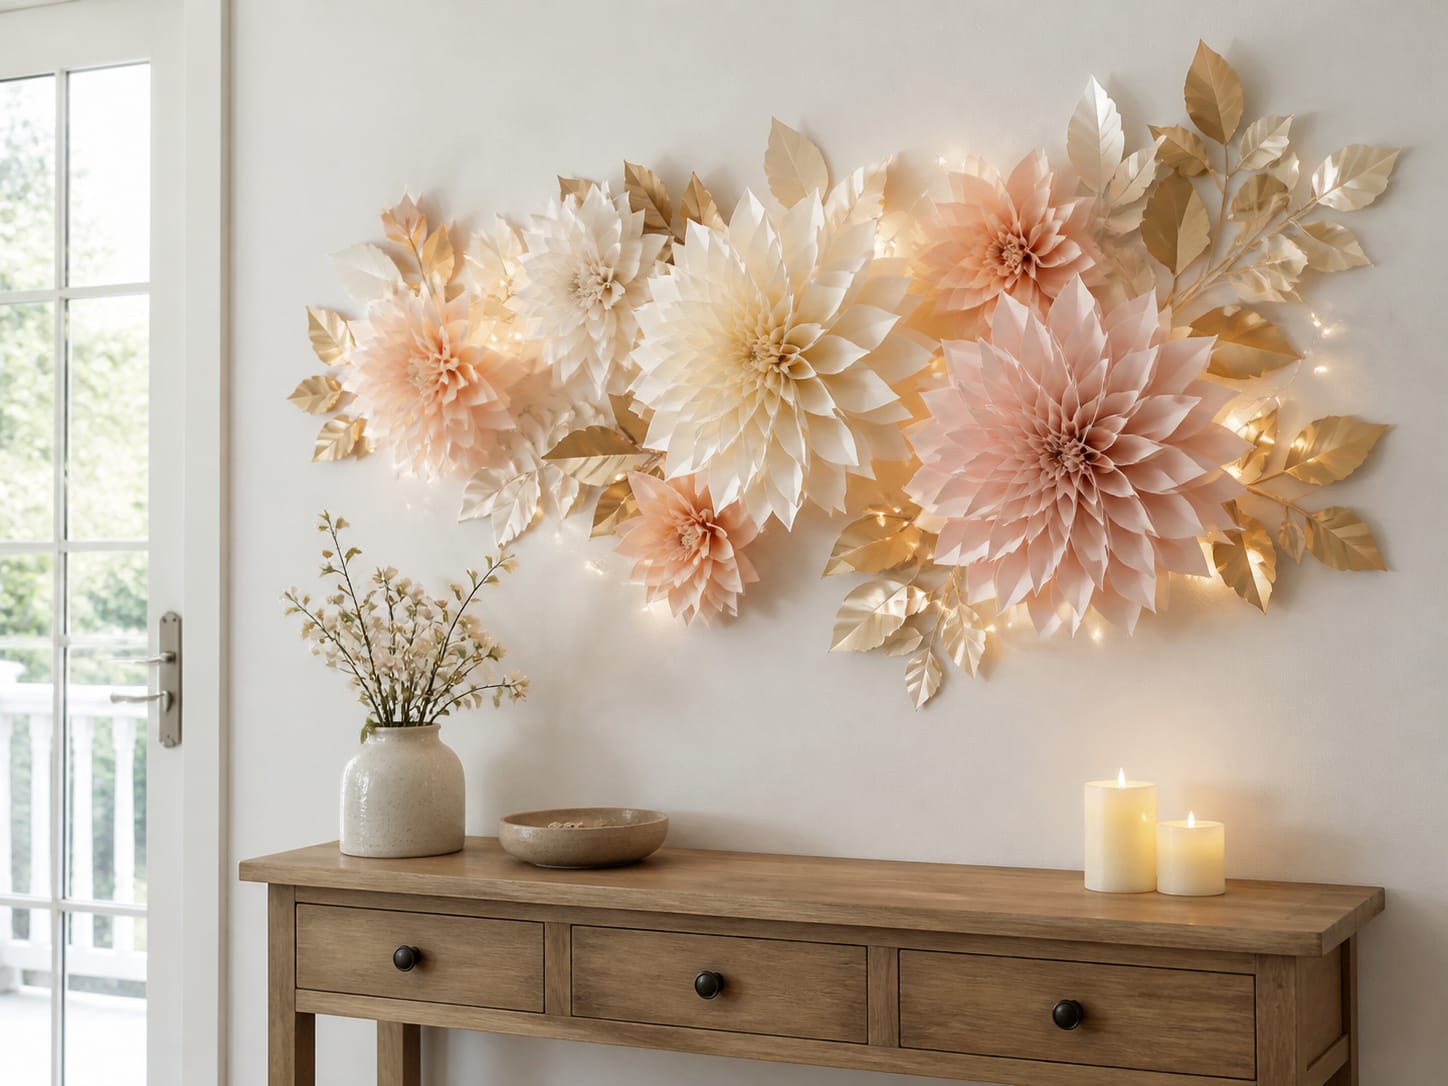
Paper flowers look more refined when the arrangement has a visible direction and plenty of bare wall around it. Choose three sizes and no more than four related colours. Heavy crepe paper makes soft petals; quality cardstock creates crisper dahlias and leaves. Build each flower on a lightweight card base, curling petals before layering them from outside to centre. Lay every finished piece on the floor to compose the cluster, then photograph the arrangement before transferring it to the wall. Place the largest blooms along one loose diagonal and use leaves to taper the ends. Only battery-operated, low-heat micro lights should sit near paper. Thread them behind the flowers so points of light appear between petals rather than looping visibly across the front. Keep the battery pack reachable and switch the lights off when the room is unattended.
Weave a layered fibre hanging around a natural branch
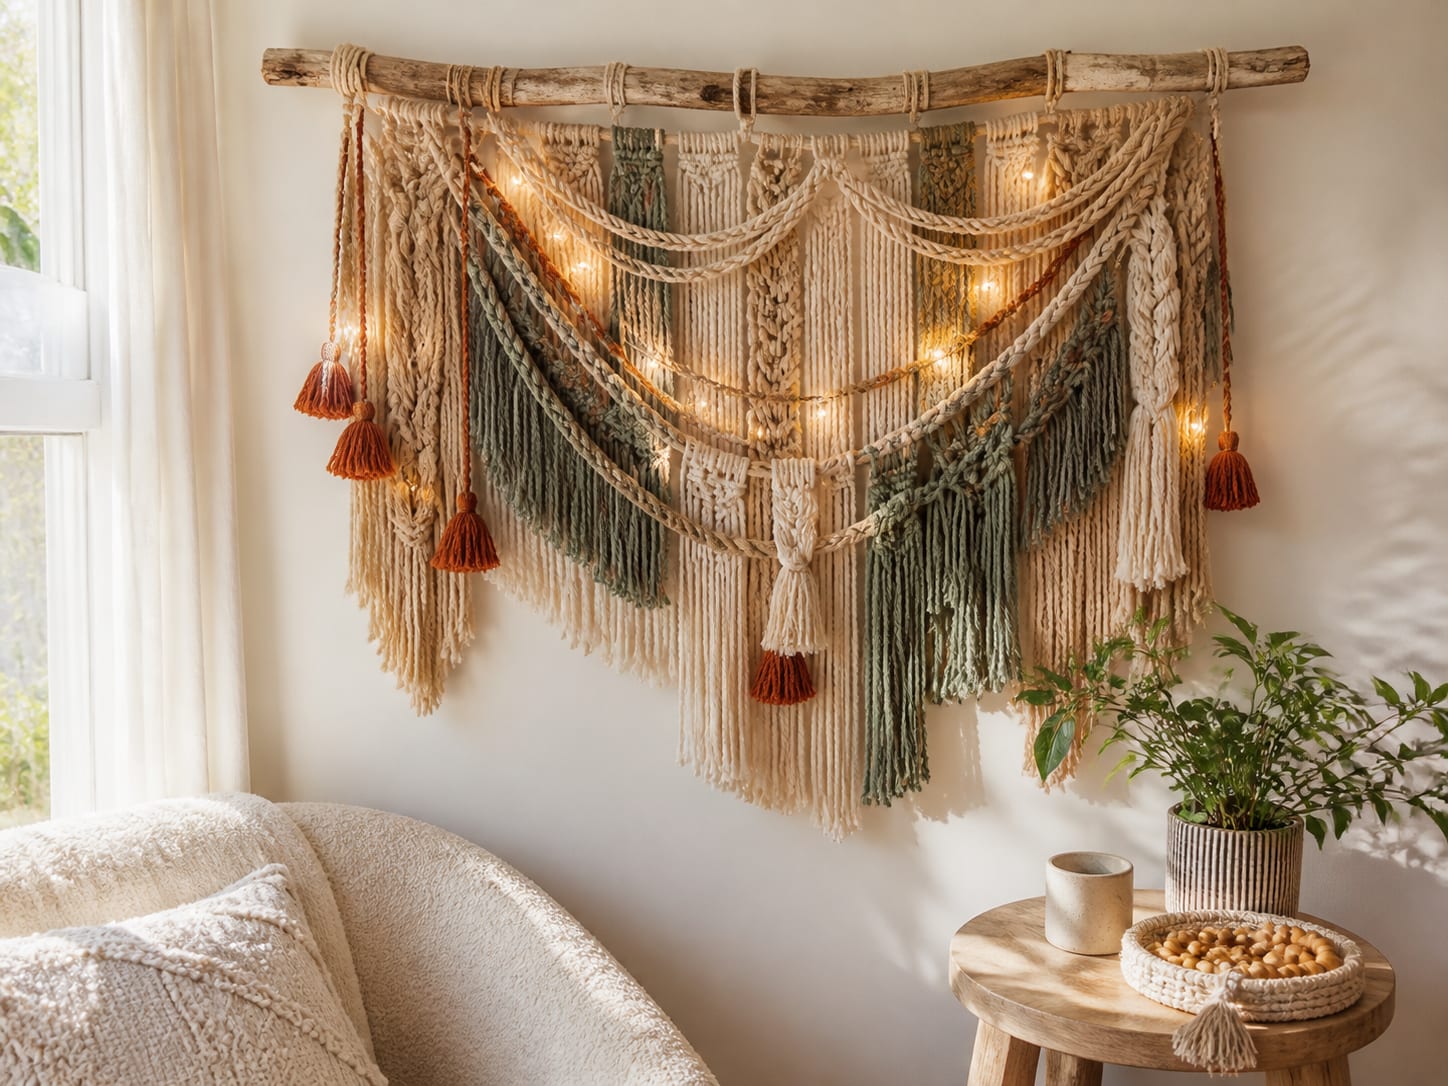
This project does not require an advanced macrame pattern. Start with a dry, clean branch that has no loose bark, then cut groups of cotton cord and yarn longer than the final drop. Attach them with lark's-head knots and build broad areas of cream before introducing sage and rust in smaller sections. Simple braids, wrapped bundles and a few square knots provide enough variation when the overall silhouette is strong. Trim the bottom only after the piece has hung overnight because fibres settle. Weave a short battery micro-light strand behind the cords, not through tight knots, so it can be removed. Secure the battery box to the rear of the branch with a reusable strap. Use two wall hooks rated comfortably above the finished weight and make sure the hanging cannot be reached by candles, heaters or curious pets.
Build a removable timber-strip picture ledge
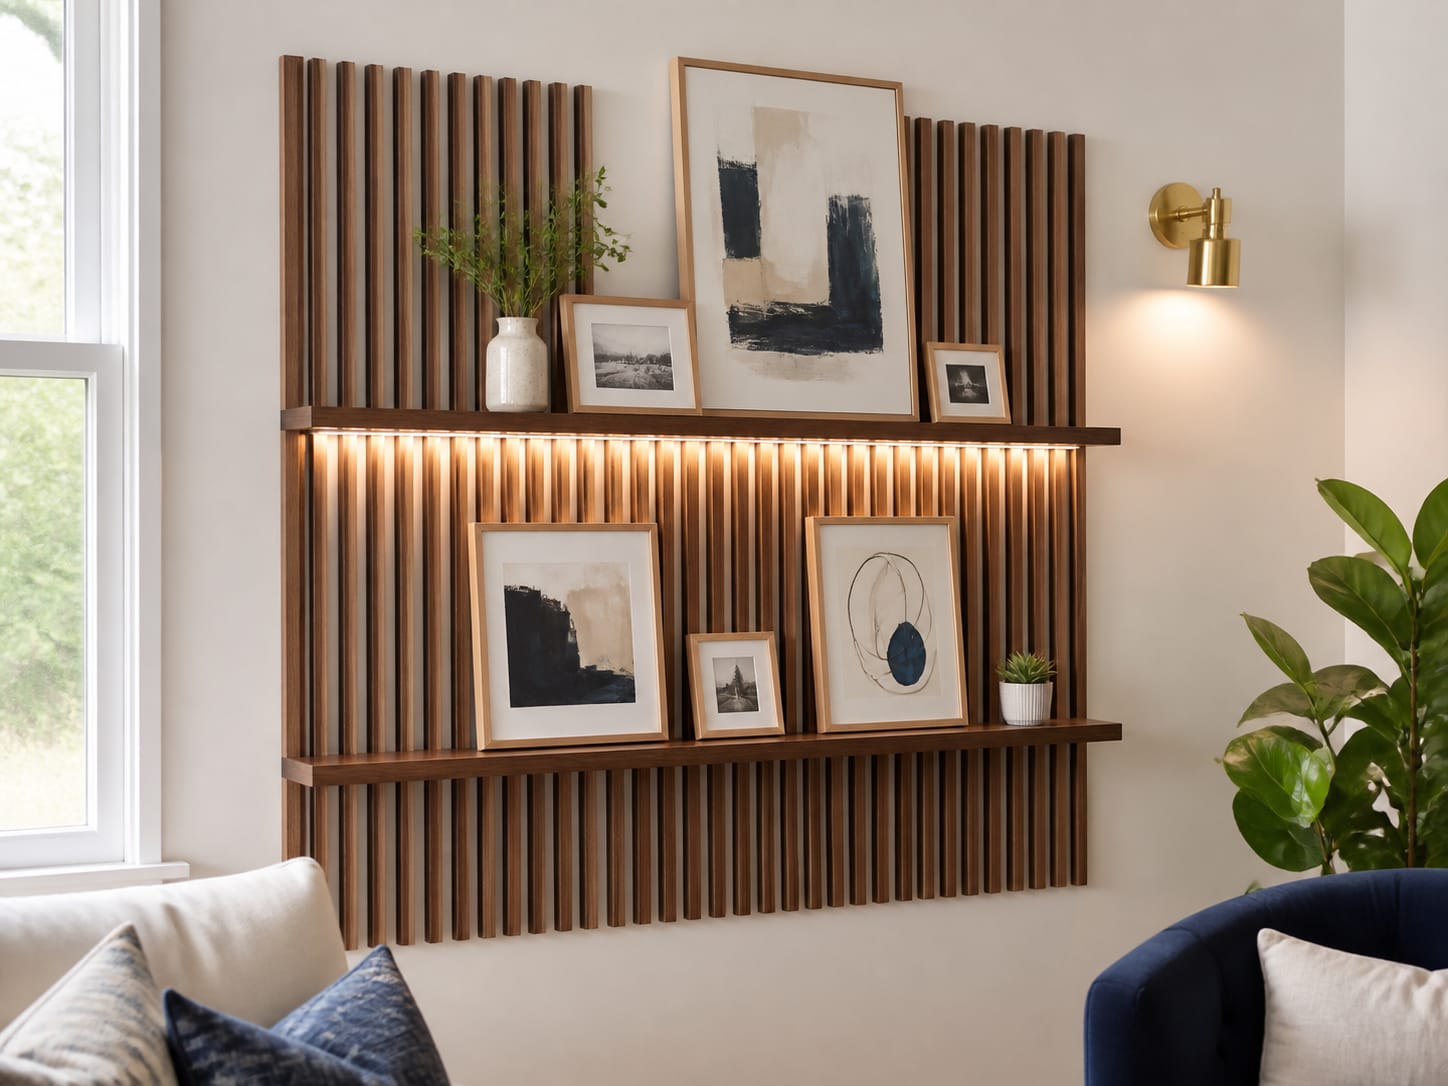
Mounting the strips to two or three horizontal backing rails allows the feature to be assembled on the floor and removed later as one or two panels. Use lightweight straight timber, sand every edge and stain all faces before assembly so pale gaps do not appear from the side. A spacer block keeps the rhythm consistent. Fix the picture ledges through the strips into the backing rails rather than trusting the thin decorative pieces alone. Concealed LED tape beneath the upper ledge can wash the lower panel, but place it inside an aluminium channel with a diffuser for an even line of light and heat control. Choose rechargeable lighting if the cable route would be visible. Keep frames in two or three sizes and overlap them slightly; the vertical timber already provides repetition, so the art arrangement can remain relaxed.
Choose the right fixing before choosing the decoration
Plasterboard, masonry, lath and plaster, tile and timber all need different fixings. Weigh the complete project, including frames, shelves and objects, then select anchors with a comfortable safety margin. Removable adhesive strips have their own surface and weight restrictions; they are not a universal substitute for screws. Mirrors, heavy timber and shelves holding ceramics deserve mechanical fixings into studs or suitable wall anchors. If electrical cable must enter the wall, use a qualified electrician rather than concealing an extension lead behind the display.
A simple styling rule for brighter, calmer walls
Keep roughly a third of the planned wall area visually quiet. Bare space lets the painted arch keep its outline, allows paper petals to cast shadows and stops the timber strips from overwhelming the room. Use warm decorative lighting as a second view of the project after sunset, not as the only reason it looks finished. In daylight, the colour, proportion and texture should already feel complete.
Project checklist
- Measure the usable wall after accounting for doors, switches, vents and furniture.
- Tape or paper-template the full composition before drilling or painting.
- Confirm every fixing is suitable for the wall type and total finished weight.
- Use only low-heat LED or rechargeable decorative lighting near paper and textiles.
- Keep batteries, switches, drivers and removable fixings accessible.
- Photograph the layout before taking it down to paint, frame or assemble.
- Style lightly, then live with the wall for a day before adding anything else.
Join the conversation
Share your thoughts on this room